Windows recently Pushed the XenServer VM Tools update which caused problems with Xen PV drivers and resulted in the Windows network adapter to stop working.
Please follow the below steps carefully to fix this issue.
Note: If you face any issues or encounter any error please don't proceed and open a support ticket without restarting the VPS.
1. Login to your client area Go to My Products & Services and Select the Product for which you are facing issues

2. Note down the IP details on a Notepad or your preferred Text tool
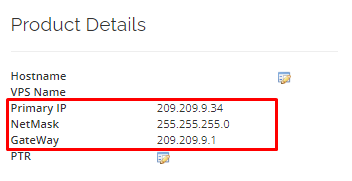
3. Now we need to Mount the CD with Drivers to the VPS, Click on the VPS Mount CD option on the left side Actions Bar
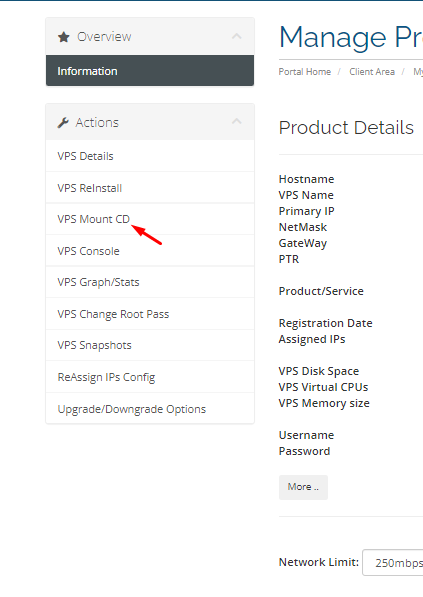
4. Select XCP-ng.Windows.PV.Drivers.8.2.2.200-rc1.iso from the Options Scroll down to the bottom of the page and click on Mount CD


Once the CD is mounted you'll see the message stating Current Mounted CD: XCP-ng.Windows.PV.Drivers.8.2.2.200-rc1.iso
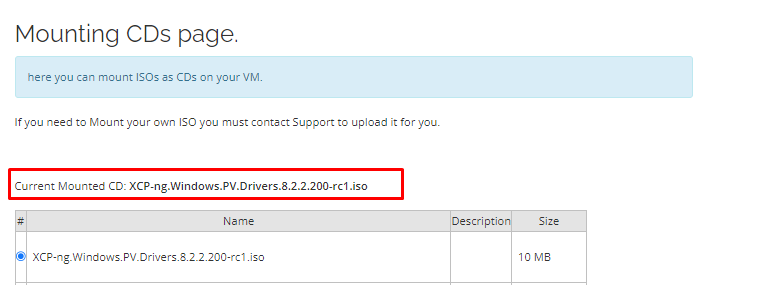
5. Next Reboot the VPS from your client area. If Reboot doesn't work you can try the Hard Reboot option.

6. Once the VM is rebooted, Click on the console option to access the VPS console
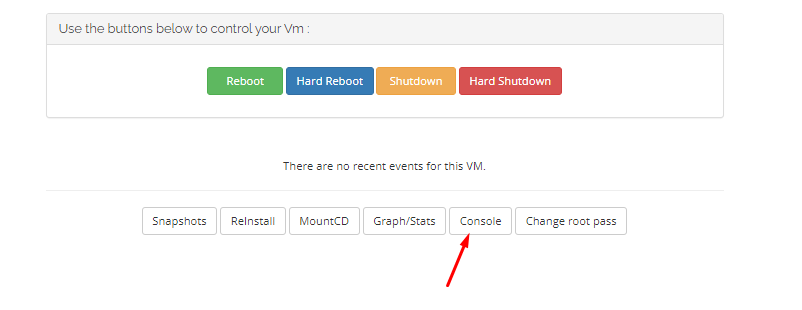
7. Click Send CtrlAltDel from the console which shows the login screen to input the password
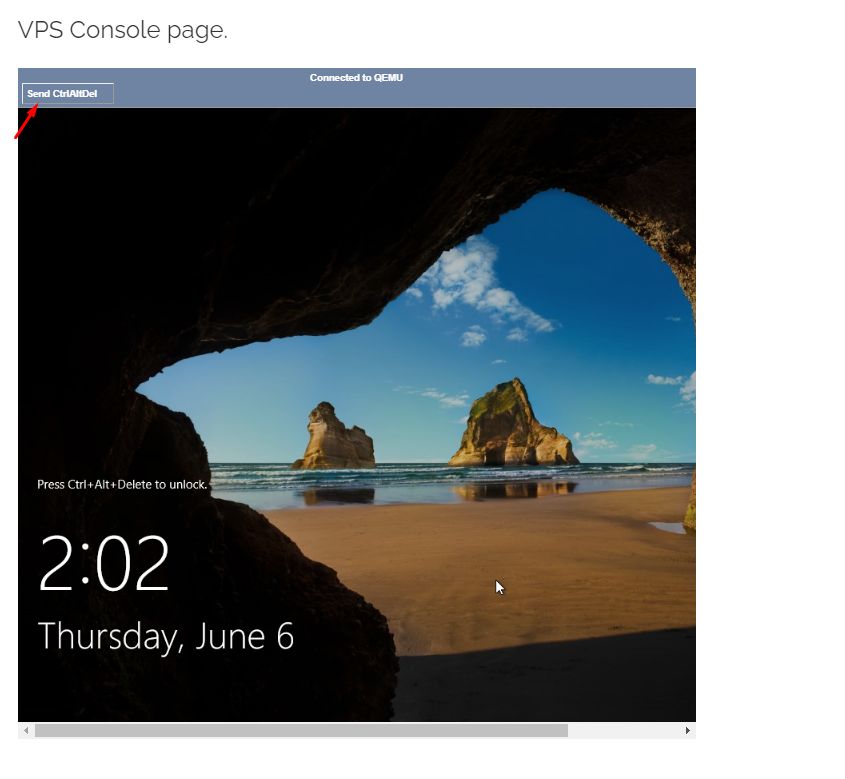
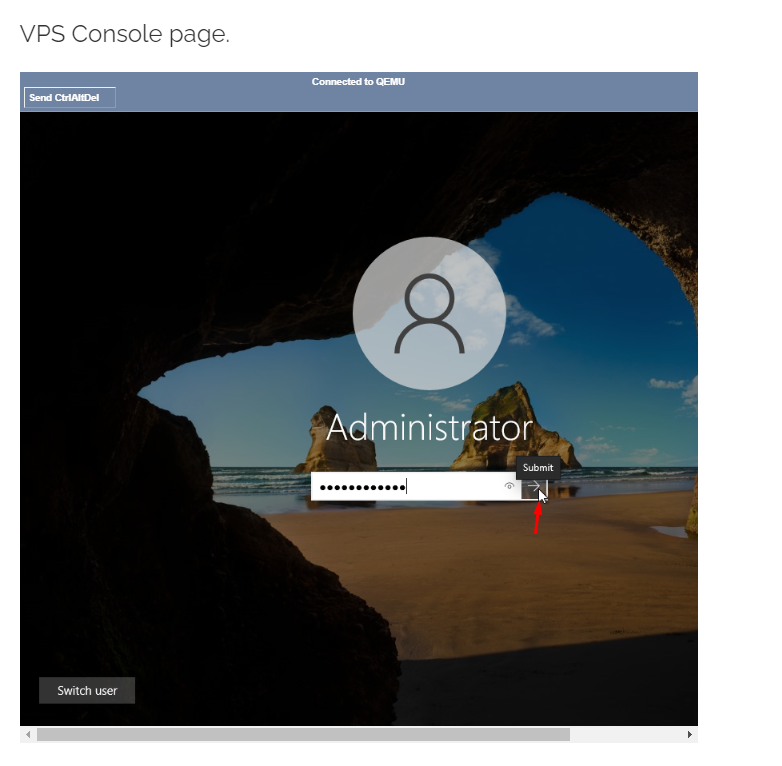
8. Type in your password (Copy/Paste doesn't work) and Submit to login to the VPS
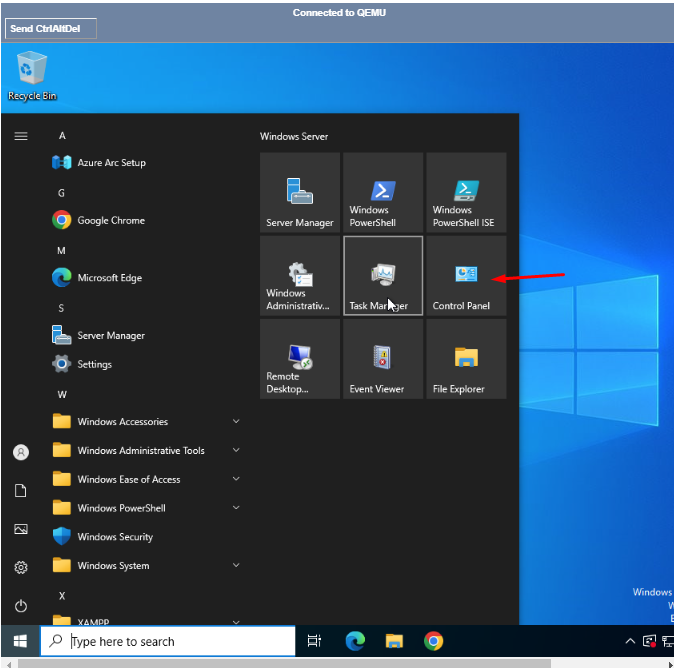
9. Once you logged in. Go to Start --> Click on Control Panel
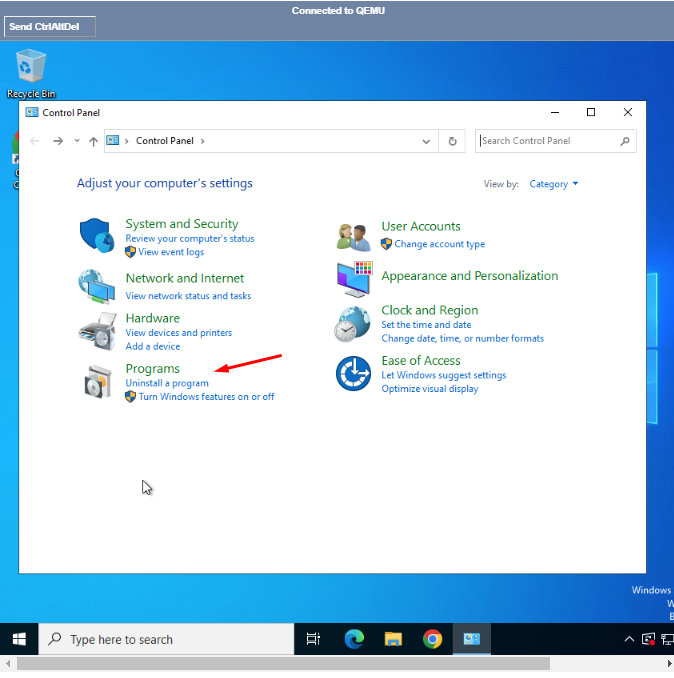
10. Click on Uninstall a Program or Programs Option
11. You'll find an Application Named XenServer VM Tools, Click on that and Uninstall it from the VPS
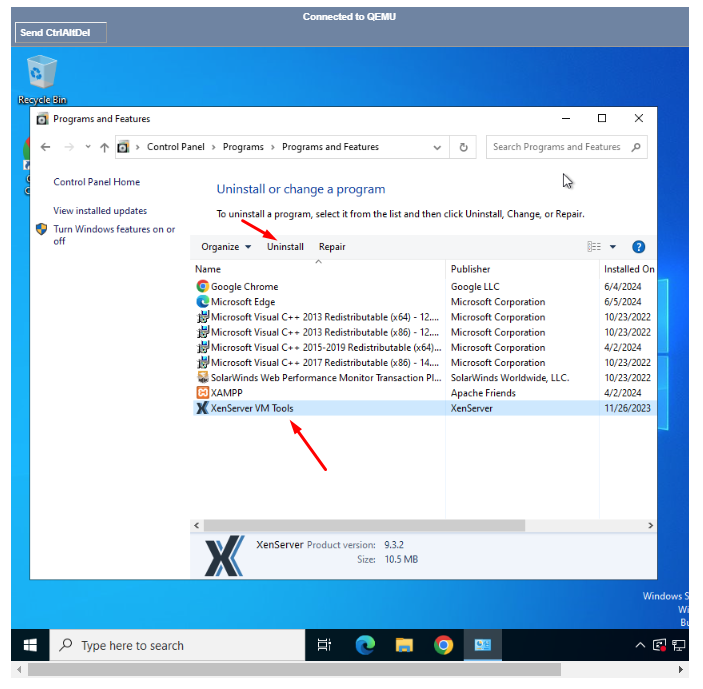
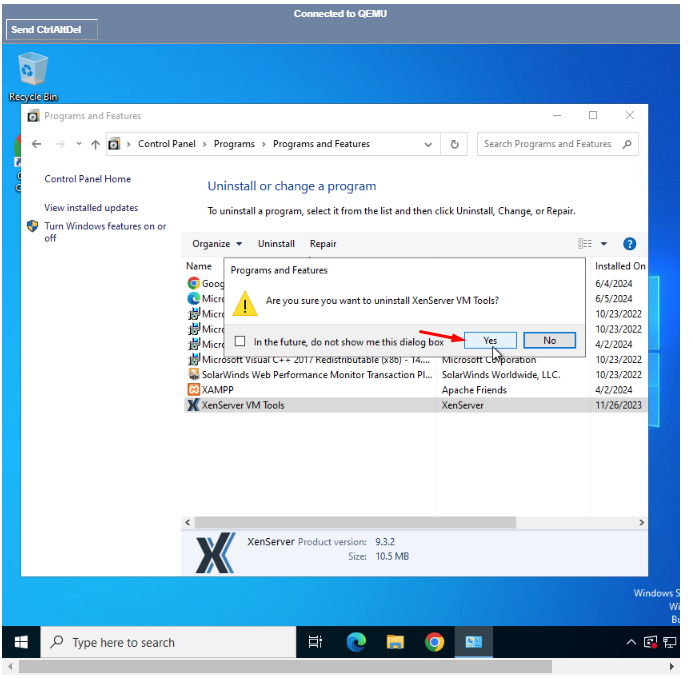
12. Once it is uninstalled, Click on the No option in the Prompt which will pop up.
Warning: If you click on Yes, there are chances that VPS become unbootable. Please select the No Option for restart.
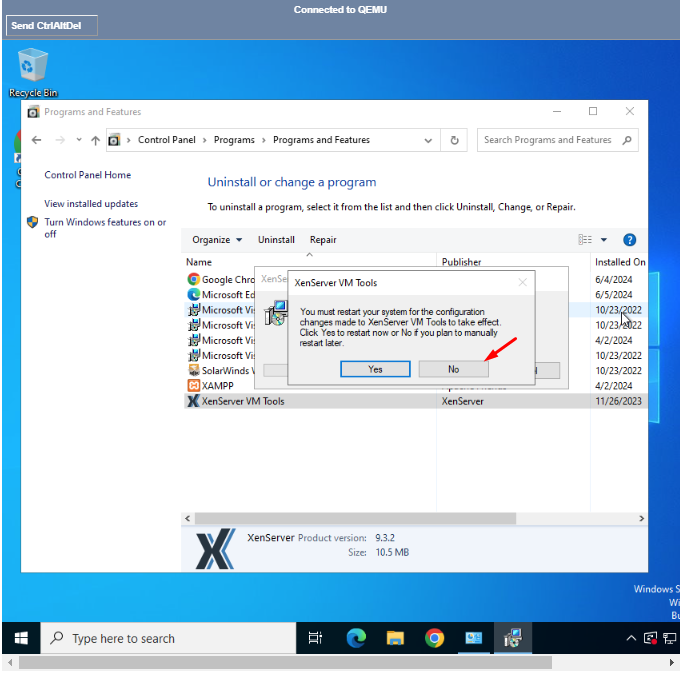
13. Once done Open File Explorer and Open the Mounted ISO.
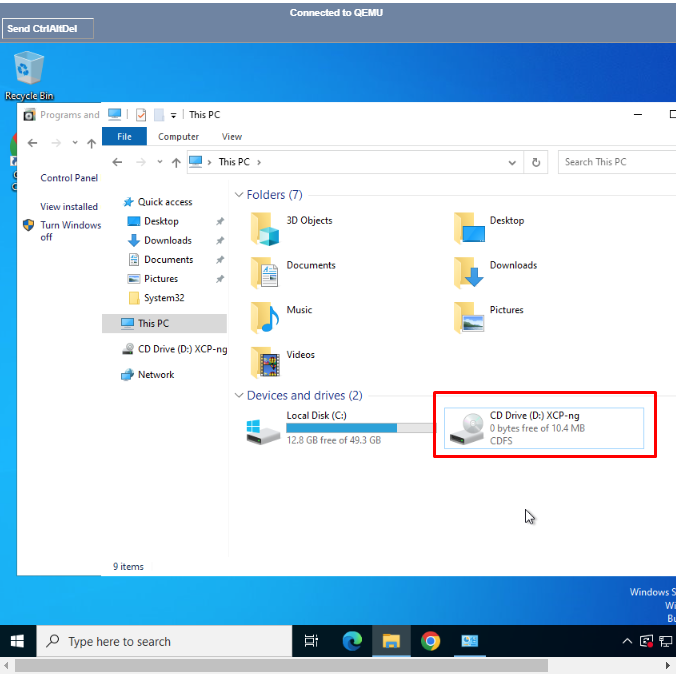
14. Double Click on Setup.exe and Install the application
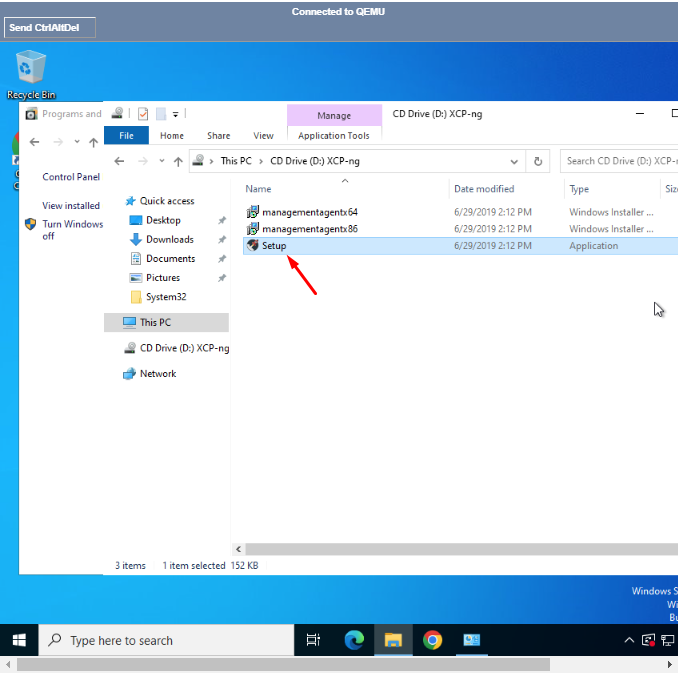
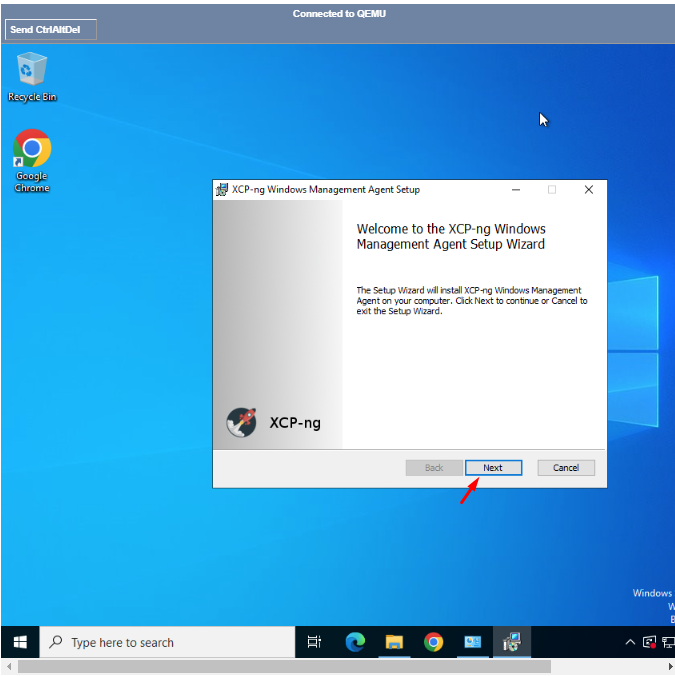
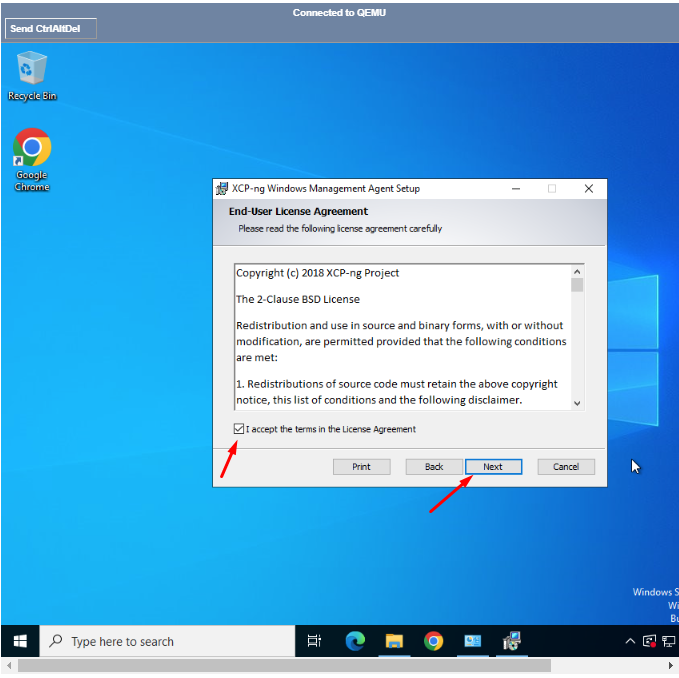
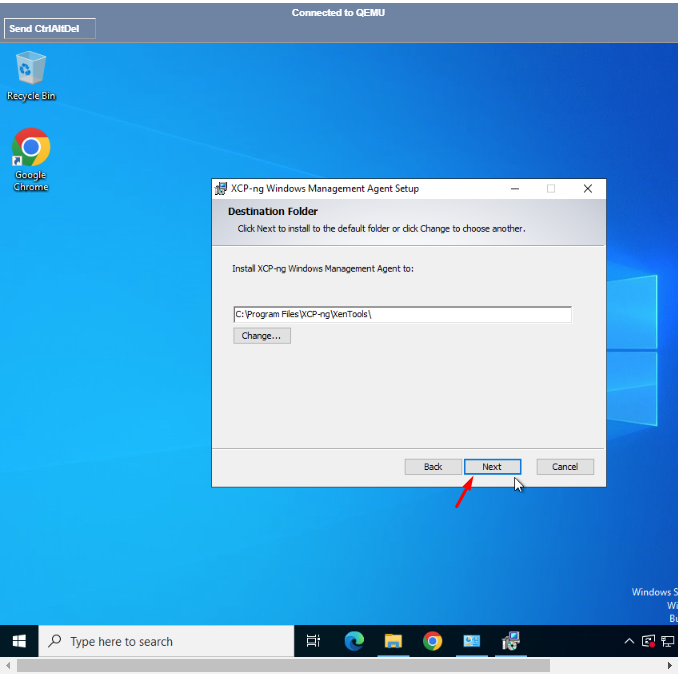
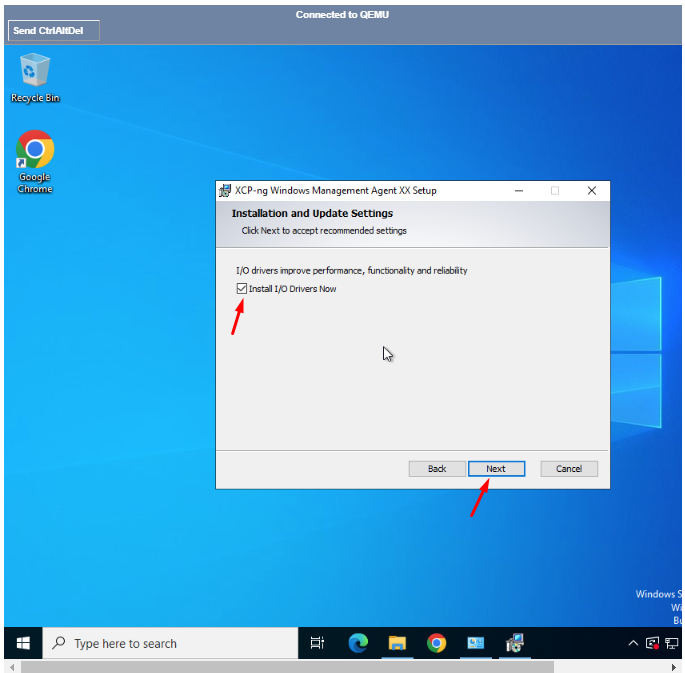
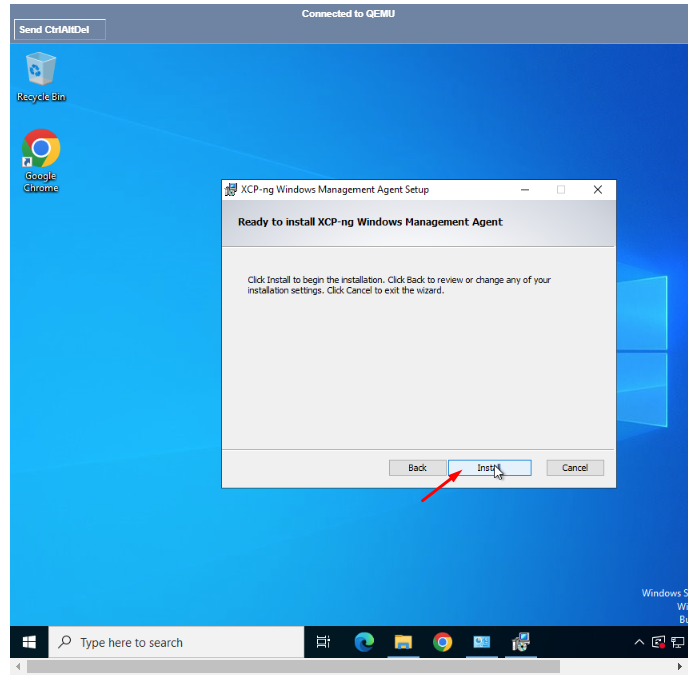
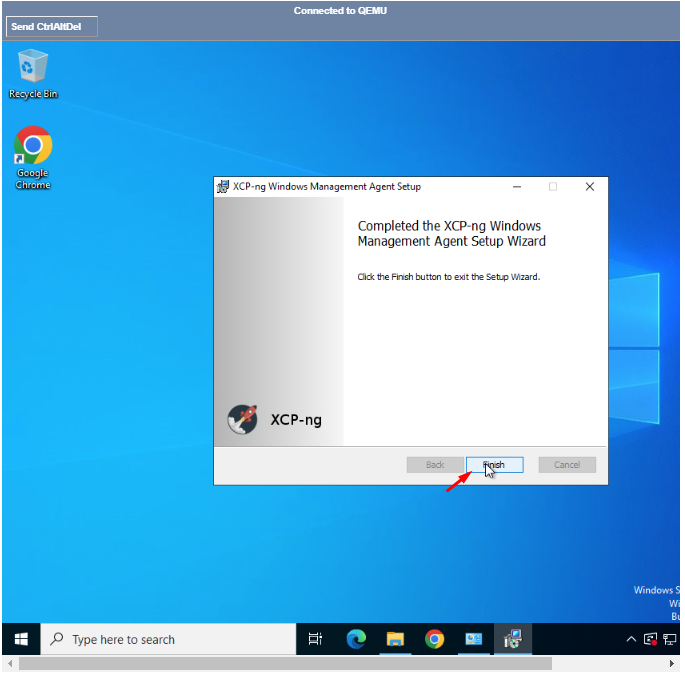
15. Once it is installed Click on Restart the VPS by Clicking Yes in the Prompt
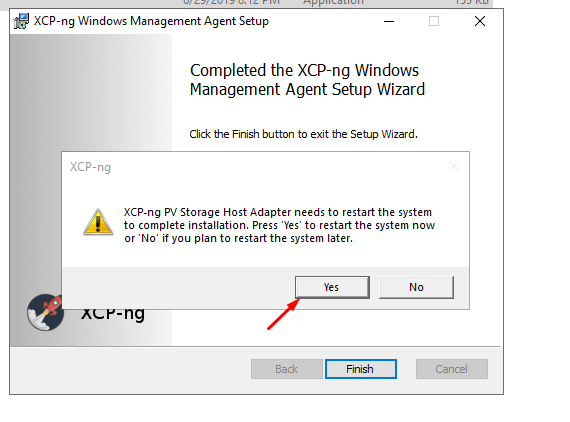
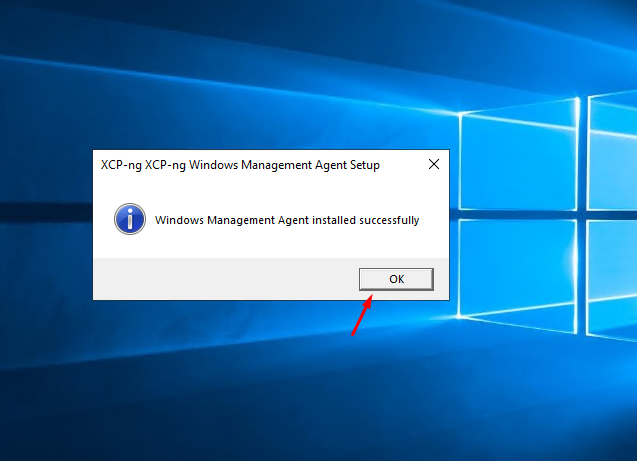
16. Once the VM is rebooted, Login to the VPS again and you can see a Prompt Saying Windows Management Agent installed Successfully.
Click OK
17. Now we need to configure the IP.
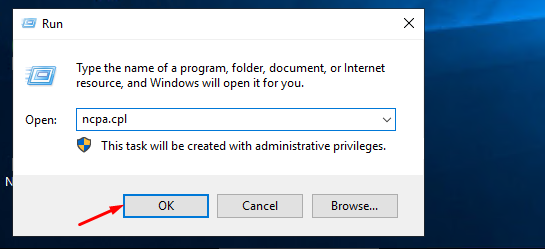
Press Win +R and in the Run Prompt Type ncpa.cpl and Press OK
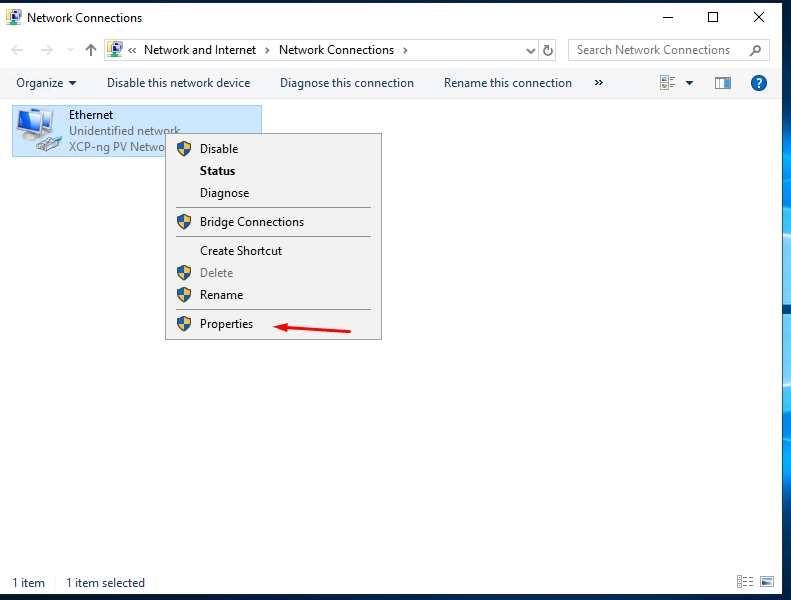
18. Right Click on the Adapter and Click Properties
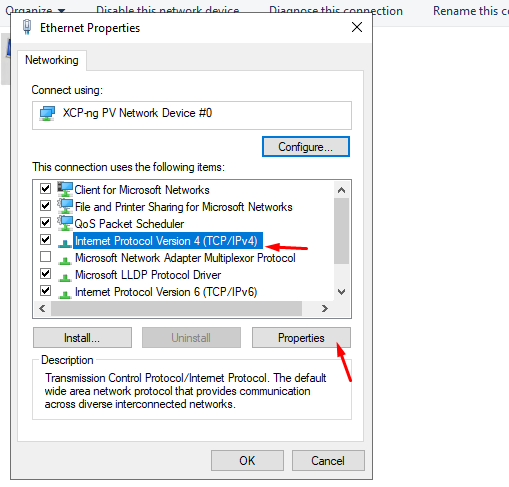
19. Select Internet Protocol Version 4 (TCP/IPv4) and Select Properties
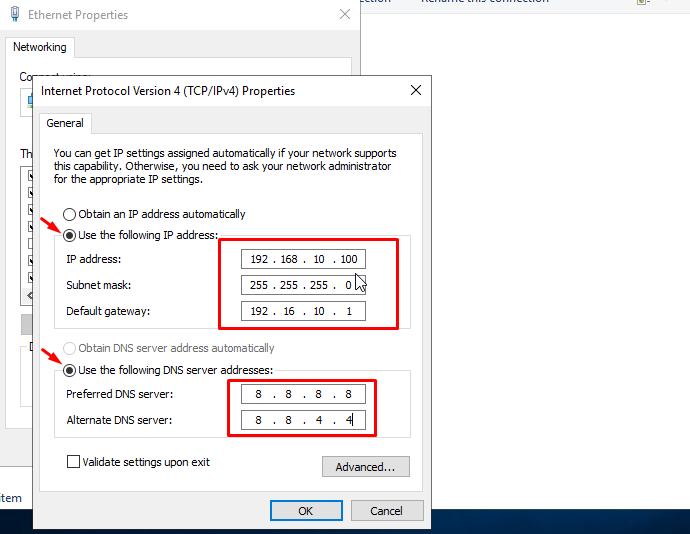
20. In the General Tab Select the Use the Following IP address Option and enter the IP details you noted down in Step 2
You can use 8.8.8.8 and 8.8.4.4 as the DNS server or you can use your preferred DNS
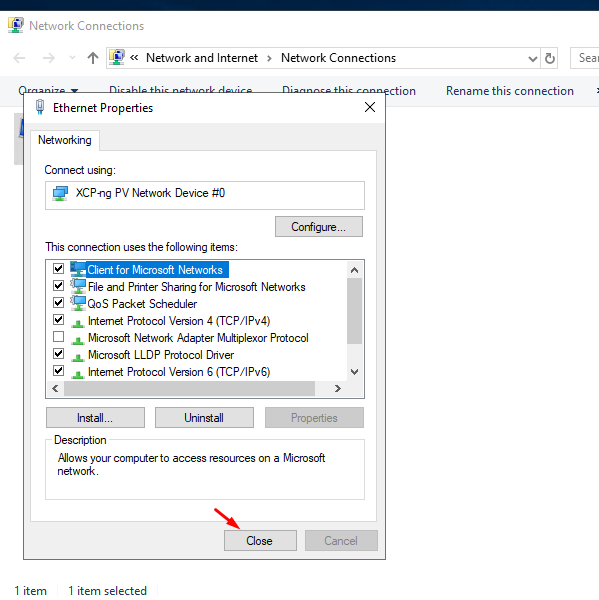
Once all the details are entered Press OK and Close the Ethernet Properties Window.
21. As a Final Step Go to the VPS Mount CD Option as described in Step 3 and Unmount the CD which we mounted earlier using Un Mount CD Option

If all the steps are followed correctly, your VPS should have internet access and be accessible via Remote Desktop.
If you face any issues or encounter any error please don't proceed and open a support ticket without restarting the VPS.

